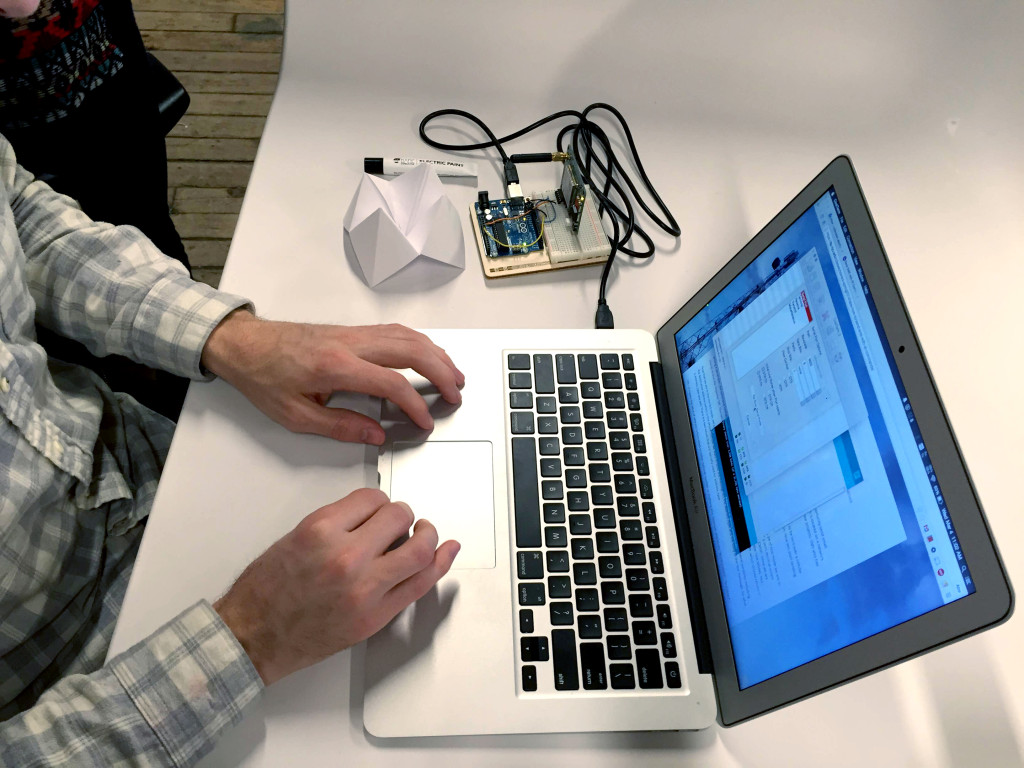
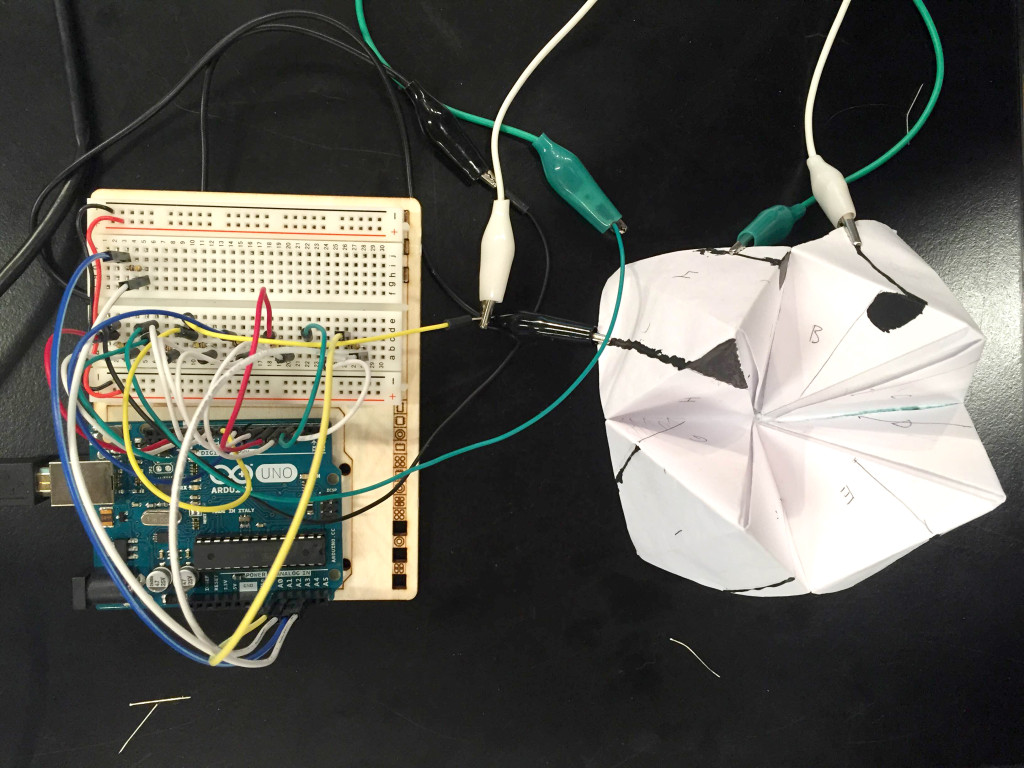
I wanted to try using conductive paint, so we chose to use capsense for each of the eight sensors. By gently tapping on the conductive paint, the sensor value reading goes up on the Arduino, providing us a threshold to trigger a text message send event on the GSM module. We had to use the analog pins since we need two pins for each sensor. Without connect the GSM, the capsensor worked pretty well.
By touching each of the sides, the value reading went up dramatically.
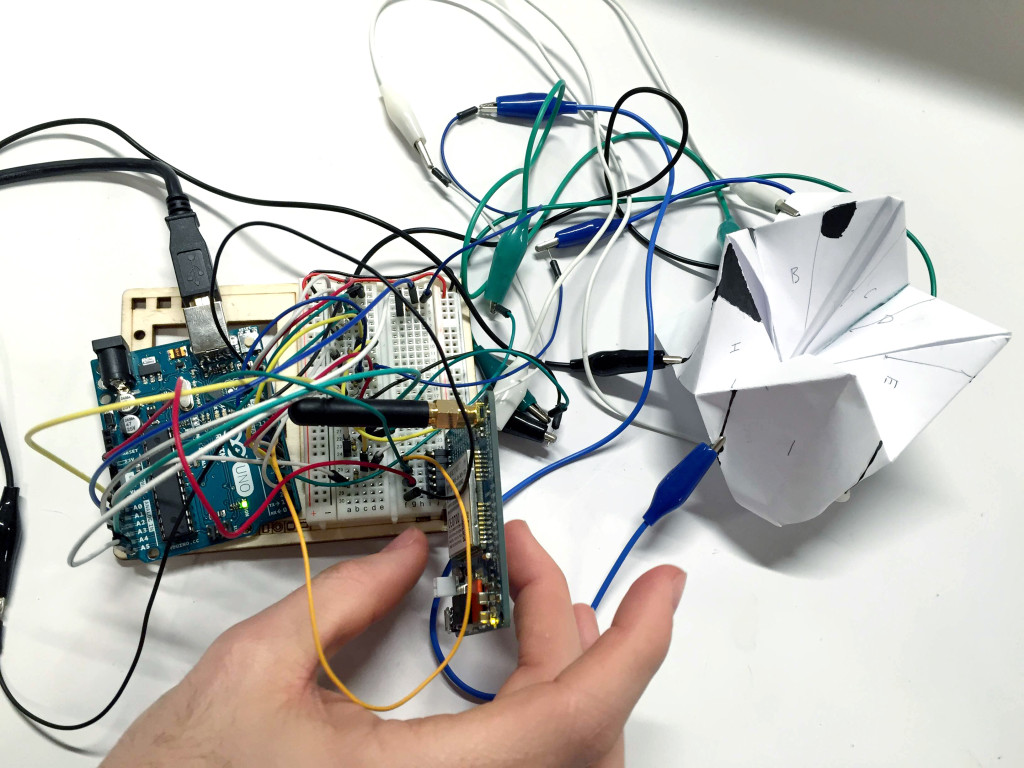
It took a bit of trial and error to get the GSM to work with the rest of the setup. We had to switch some of the pins for the sensors to make room for the GSM RX and TX pins.
It sends text messages!
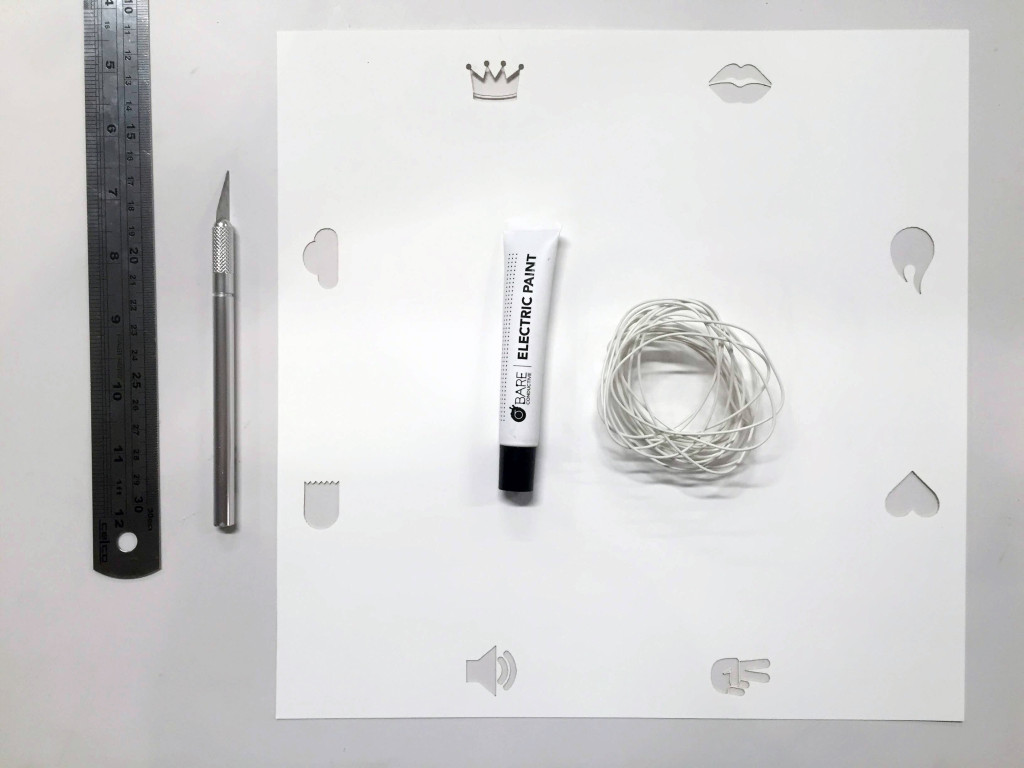
The conductive paint works better for capsense when there’s large enough areas to touch. So instead of using numbers, we are going with icons, which has larger areas to be filled with conductive paint.
To hide the wiring, I designed the paper fortune teller to fold over the conductive paint and wires by cutting holes on the inside of the paper. All wires for the eight sensors would come out from the bottom center.
