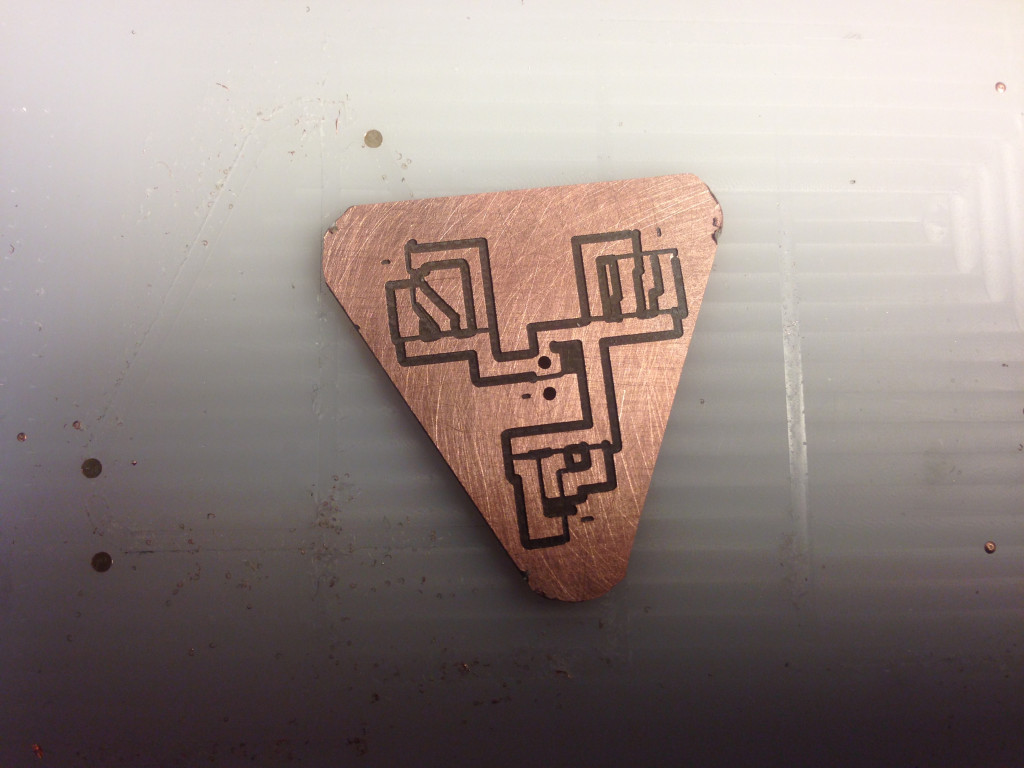
Paper Fortune Teller and GSM: putting it together

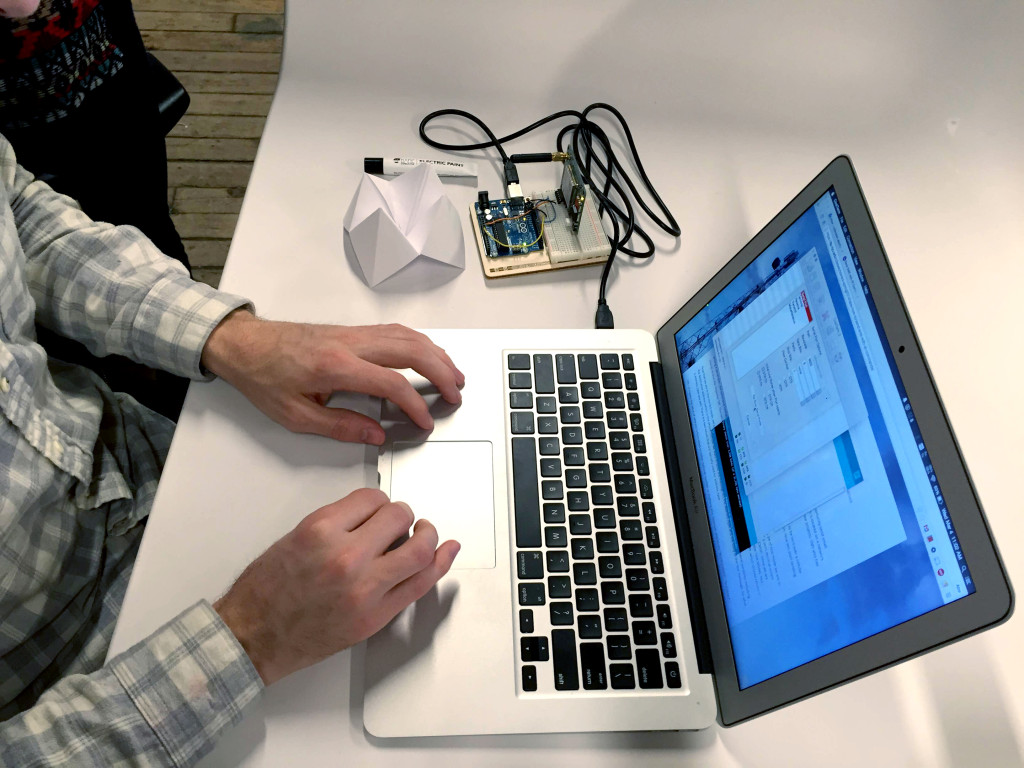
Getting started with Arduino and GSM module. Abe manning the computer.

Getting started with Arduino and GSM module. Abe manning the computer.

IMG_1212

Wiring up all 8 sides of the paper fortune teller.

I wanted to try using conductive paint, so we chose to use capsense for each of the eight sensors. By gently tapping on the conductive paint, the sensor value reading goes up on the Arduino, providing us a threshold to trigger a text message send event on the GSM module. We had to use the analog pins since we need two pins for each sensor. Without connect the GSM, the capsensor worked pretty well.

By touching each of the sides, the value reading went up dramatically.

IMG_1449

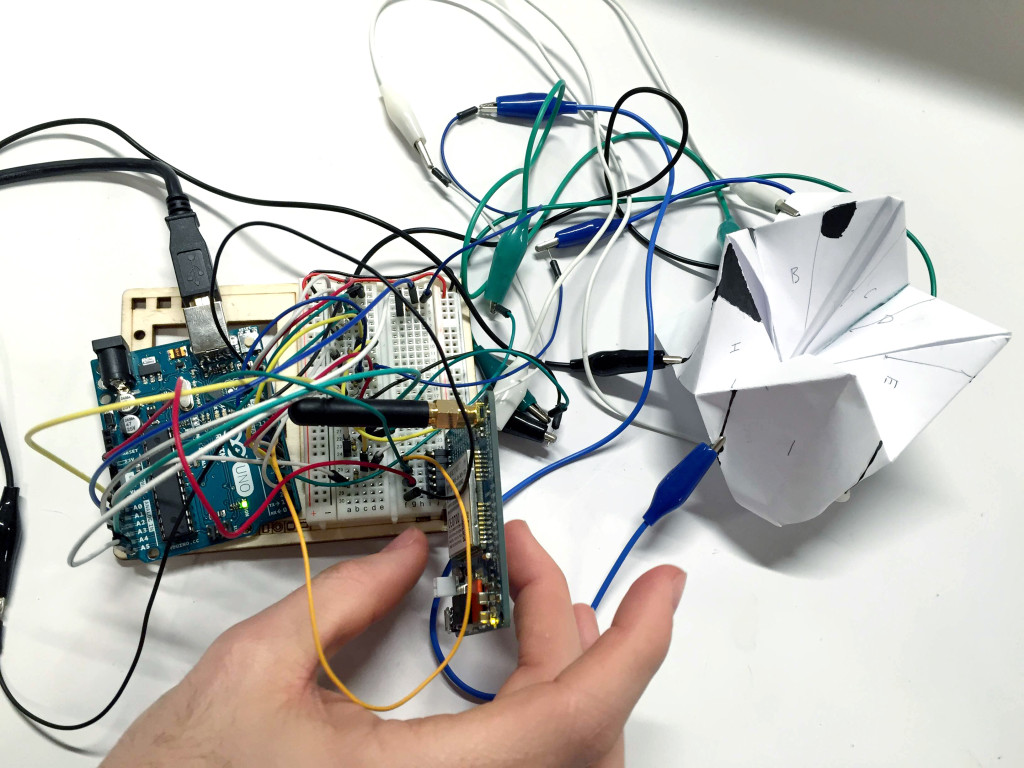
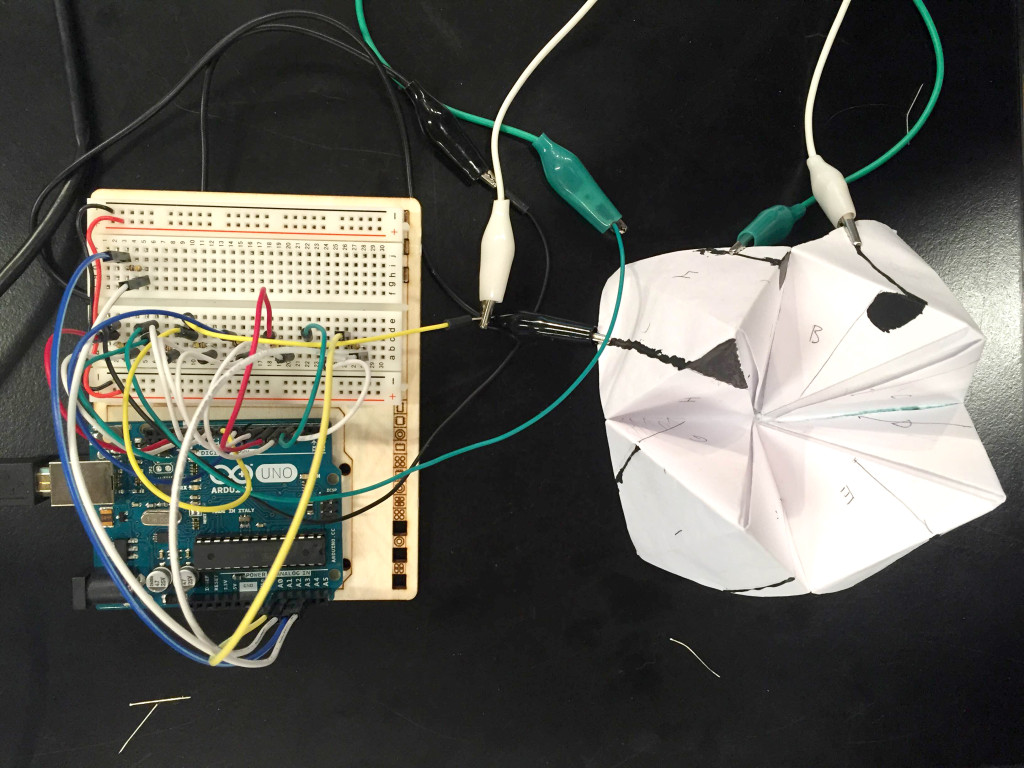
Tangle of wires: connecting the GSM module to the paper fortune teller setup.

It took a bit of trial and error to get the GSM to work with the rest of the setup. We had to switch some of the pins for the sensors to make room for the GSM RX and TX pins.

It sends text messages!

IMG_1459

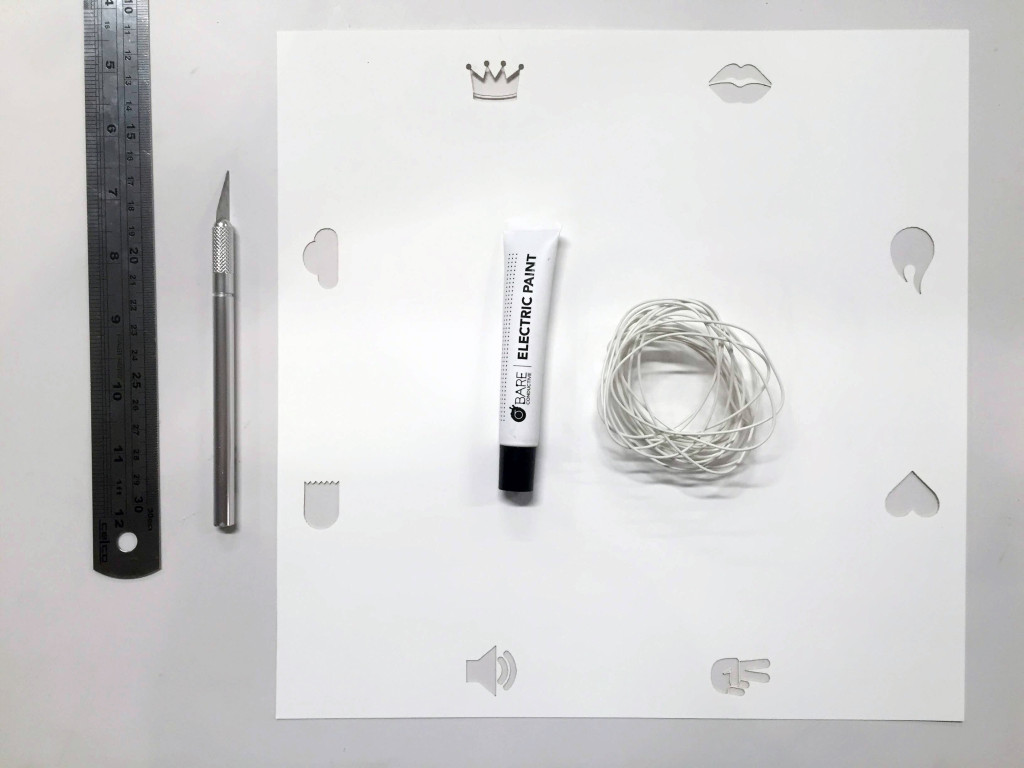
Materials for the paper fortune teller.

The conductive paint works better for capsense when there’s large enough areas to touch. So instead of using numbers, we are going with icons, which has larger areas to be filled with conductive paint.

IMG_1463

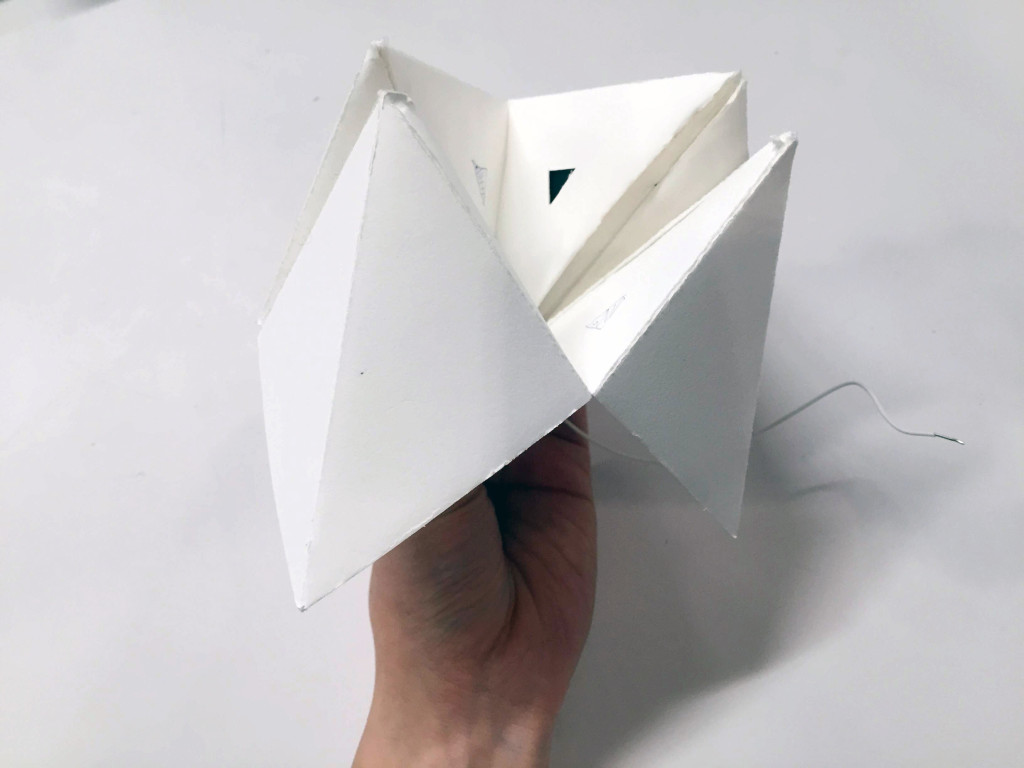
Paper Fortune Teller rough prototype 1.

To hide the wiring, I designed the paper fortune teller to fold over the conductive paint and wires by cutting holes on the inside of the paper. All wires for the eight sensors would come out from the bottom center.
 

Paper Fortune Teller

large-cootie-catcher

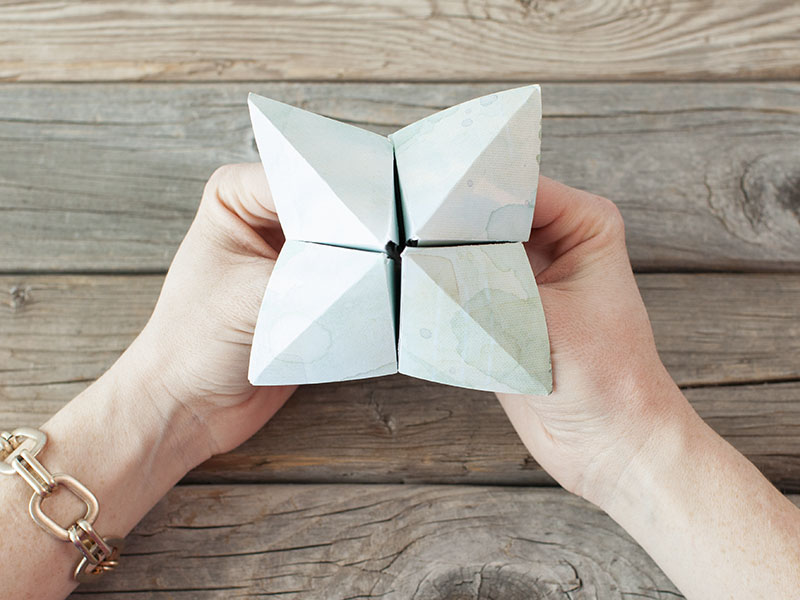
For Towers of Power’s final project, I’m working with Jason Dunne and Abe Rubenstein to create a GSM driven paper fortune teller. Like with the paper fortune teller game that we played as kids, the player picks a side and counts the number of pinches and pulls. Unlike that game, the player sends a text message to a designated recipient by tapping the picked side .

Before partnering with Jason and Abe, I had wanted to make a dice phone. Depending on which side the dice lands a corresponding text message would be sent out. We all liked the idea of random communication that the player would have little control over. I also liked the idea of a screen-less interface for a phone. We thought about other random games/toys, such as the magic 8 ball and Russian roulette, and decided on a paper fortune teller.

This was our original bill of materials:

Velostat/Linqstat (one square meter to be cut into 12 pieces): $15.
Arduino GSM Shield/Quectel M10/Antenna: $90.
Origami Paper: $10.
Contact Tape: $10.
Misc: $10.

PCB milling with hacked Roland Modela

Class was replaced by a Roland milling workshop this week. We used a machine in the PCB lab that was modified by the incredible Andy Sigler, who conducted my workshop. Andy had created a web interface that allowed us to work with our EAGLE file and control the machine. The setup is very junk-shelf-fabulous and caters to ITPers’ needs specifically. We can print hundreds of our own boards right on the floor! Think of all the madness we can create.

Here are the steps to PCB milling with our Roland Modela. We used Sam’s bike notification device schematic.

1. Measure the precise thickness of the board 

2. Open Nodela (our custom milling web interface) and drag the file on to the program


IMG_4815

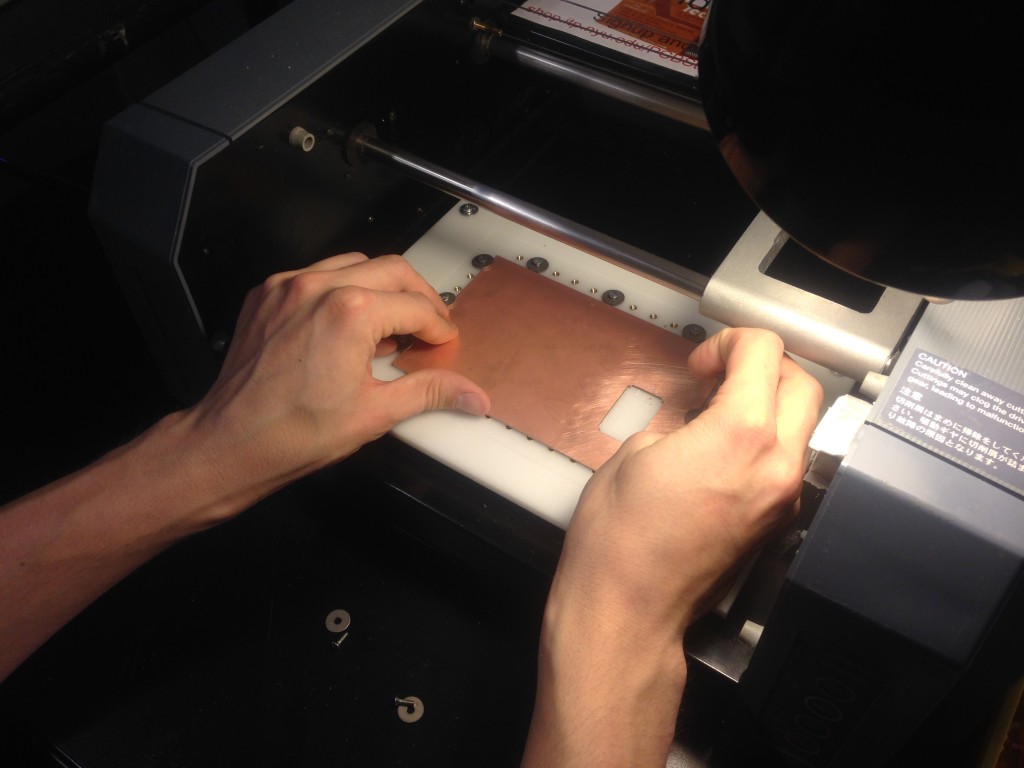
3. Tighten the screws around the board 

IMG_4816

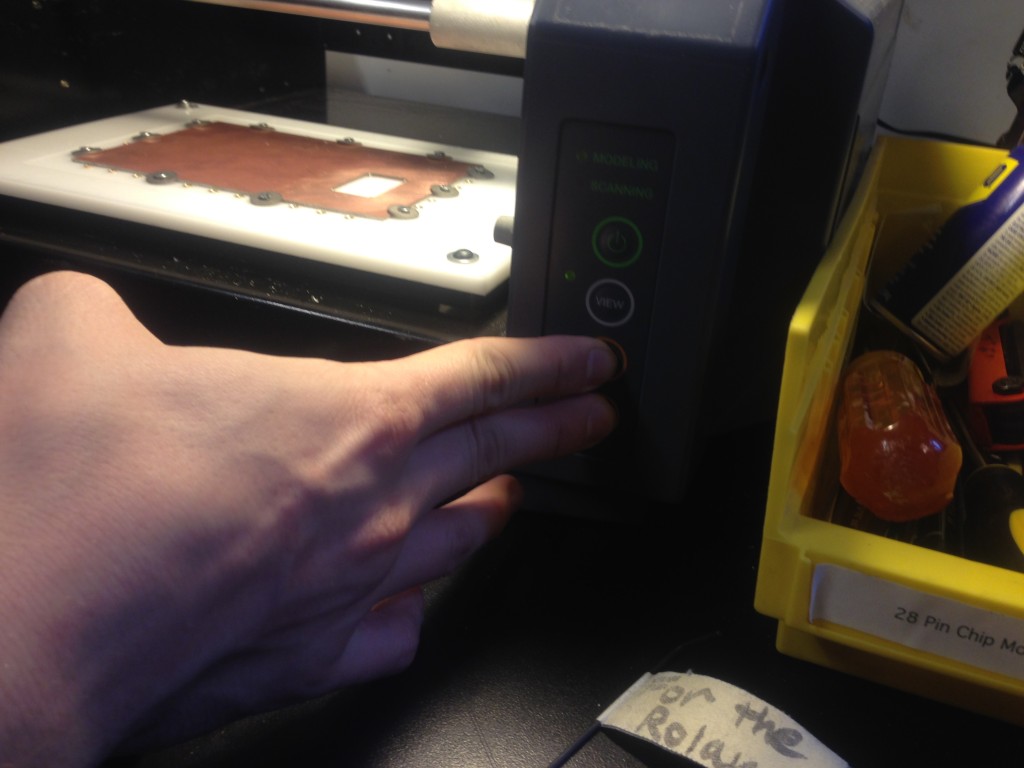
4. Make sure there are no leftover job on the machine by pressing up and down simultaneously. If the light blinks, press delete job

5. Screw in the 1/32 bit and set Z origin

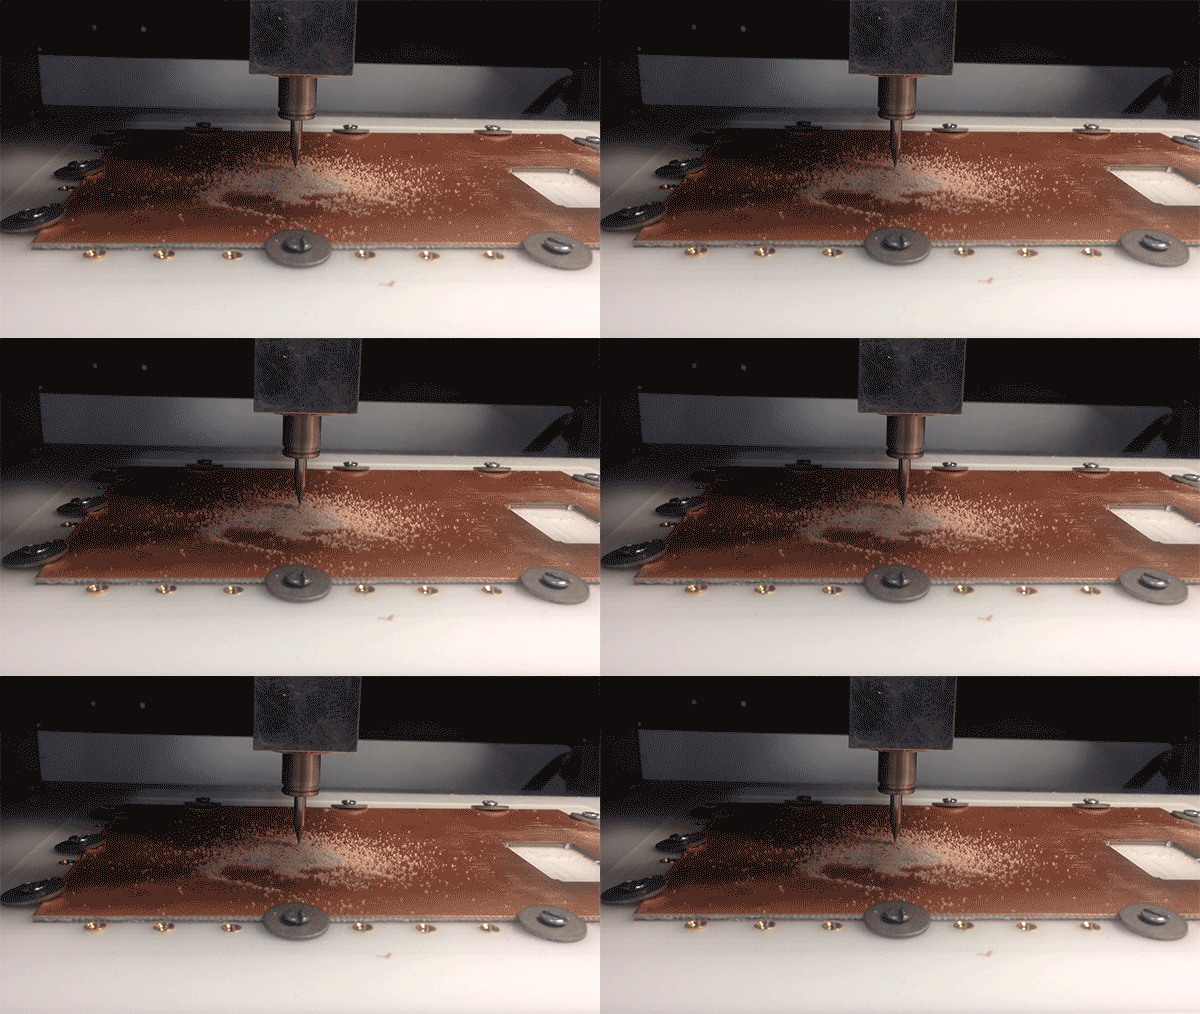
rollen

6. Run the machine. Once the 1/32 bit is done, replace with the 1/64 bit and run the machine again

7. Screw in the drill bit and drill any holes in the design

8. Replace the drill bit with a flat drill bit and run the machine to trace the shape of the board

rollen2

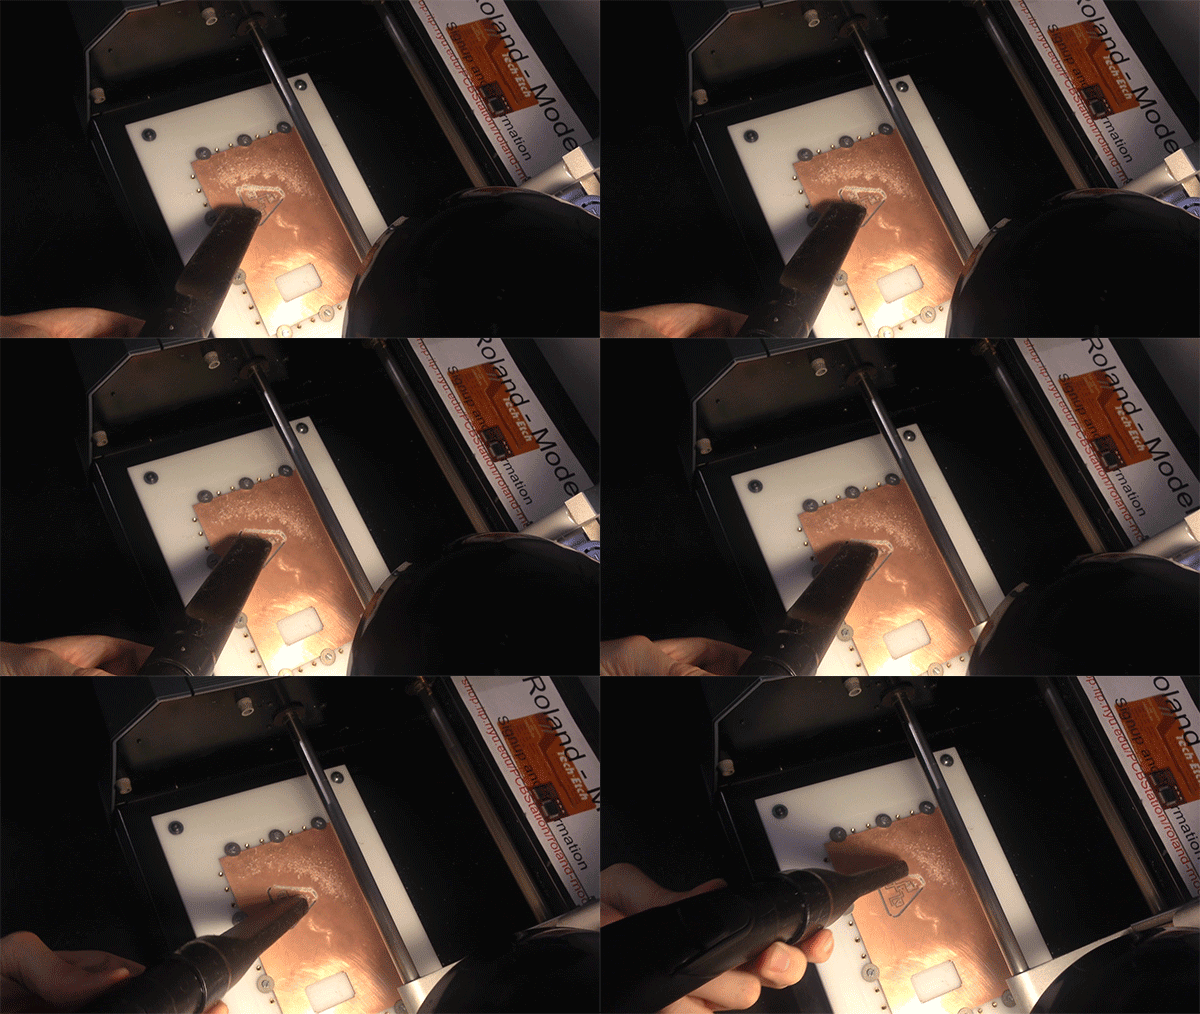
9. Vacuum the board

IMG_4822 copy

10. Almost there! Take the board out, scrape it and clean it up. 

There’s also tutorial on setting up the EAGLE file for the milling machine here.

From etching PCB board with vinegar and acid to milling it with custom crafted machine and web interface, I’ve begin to see making circuit boards as a craft and even an art form. I’m excited for the possibilities that can come out of my new found ability to design and print my own circuits. There are a couple of projects that I’d love to build with custom boards. One is a collection of wearable Bluetooth devices that would create small mesh networks. I’ll have to figure out what is feasible for the next few weeks.