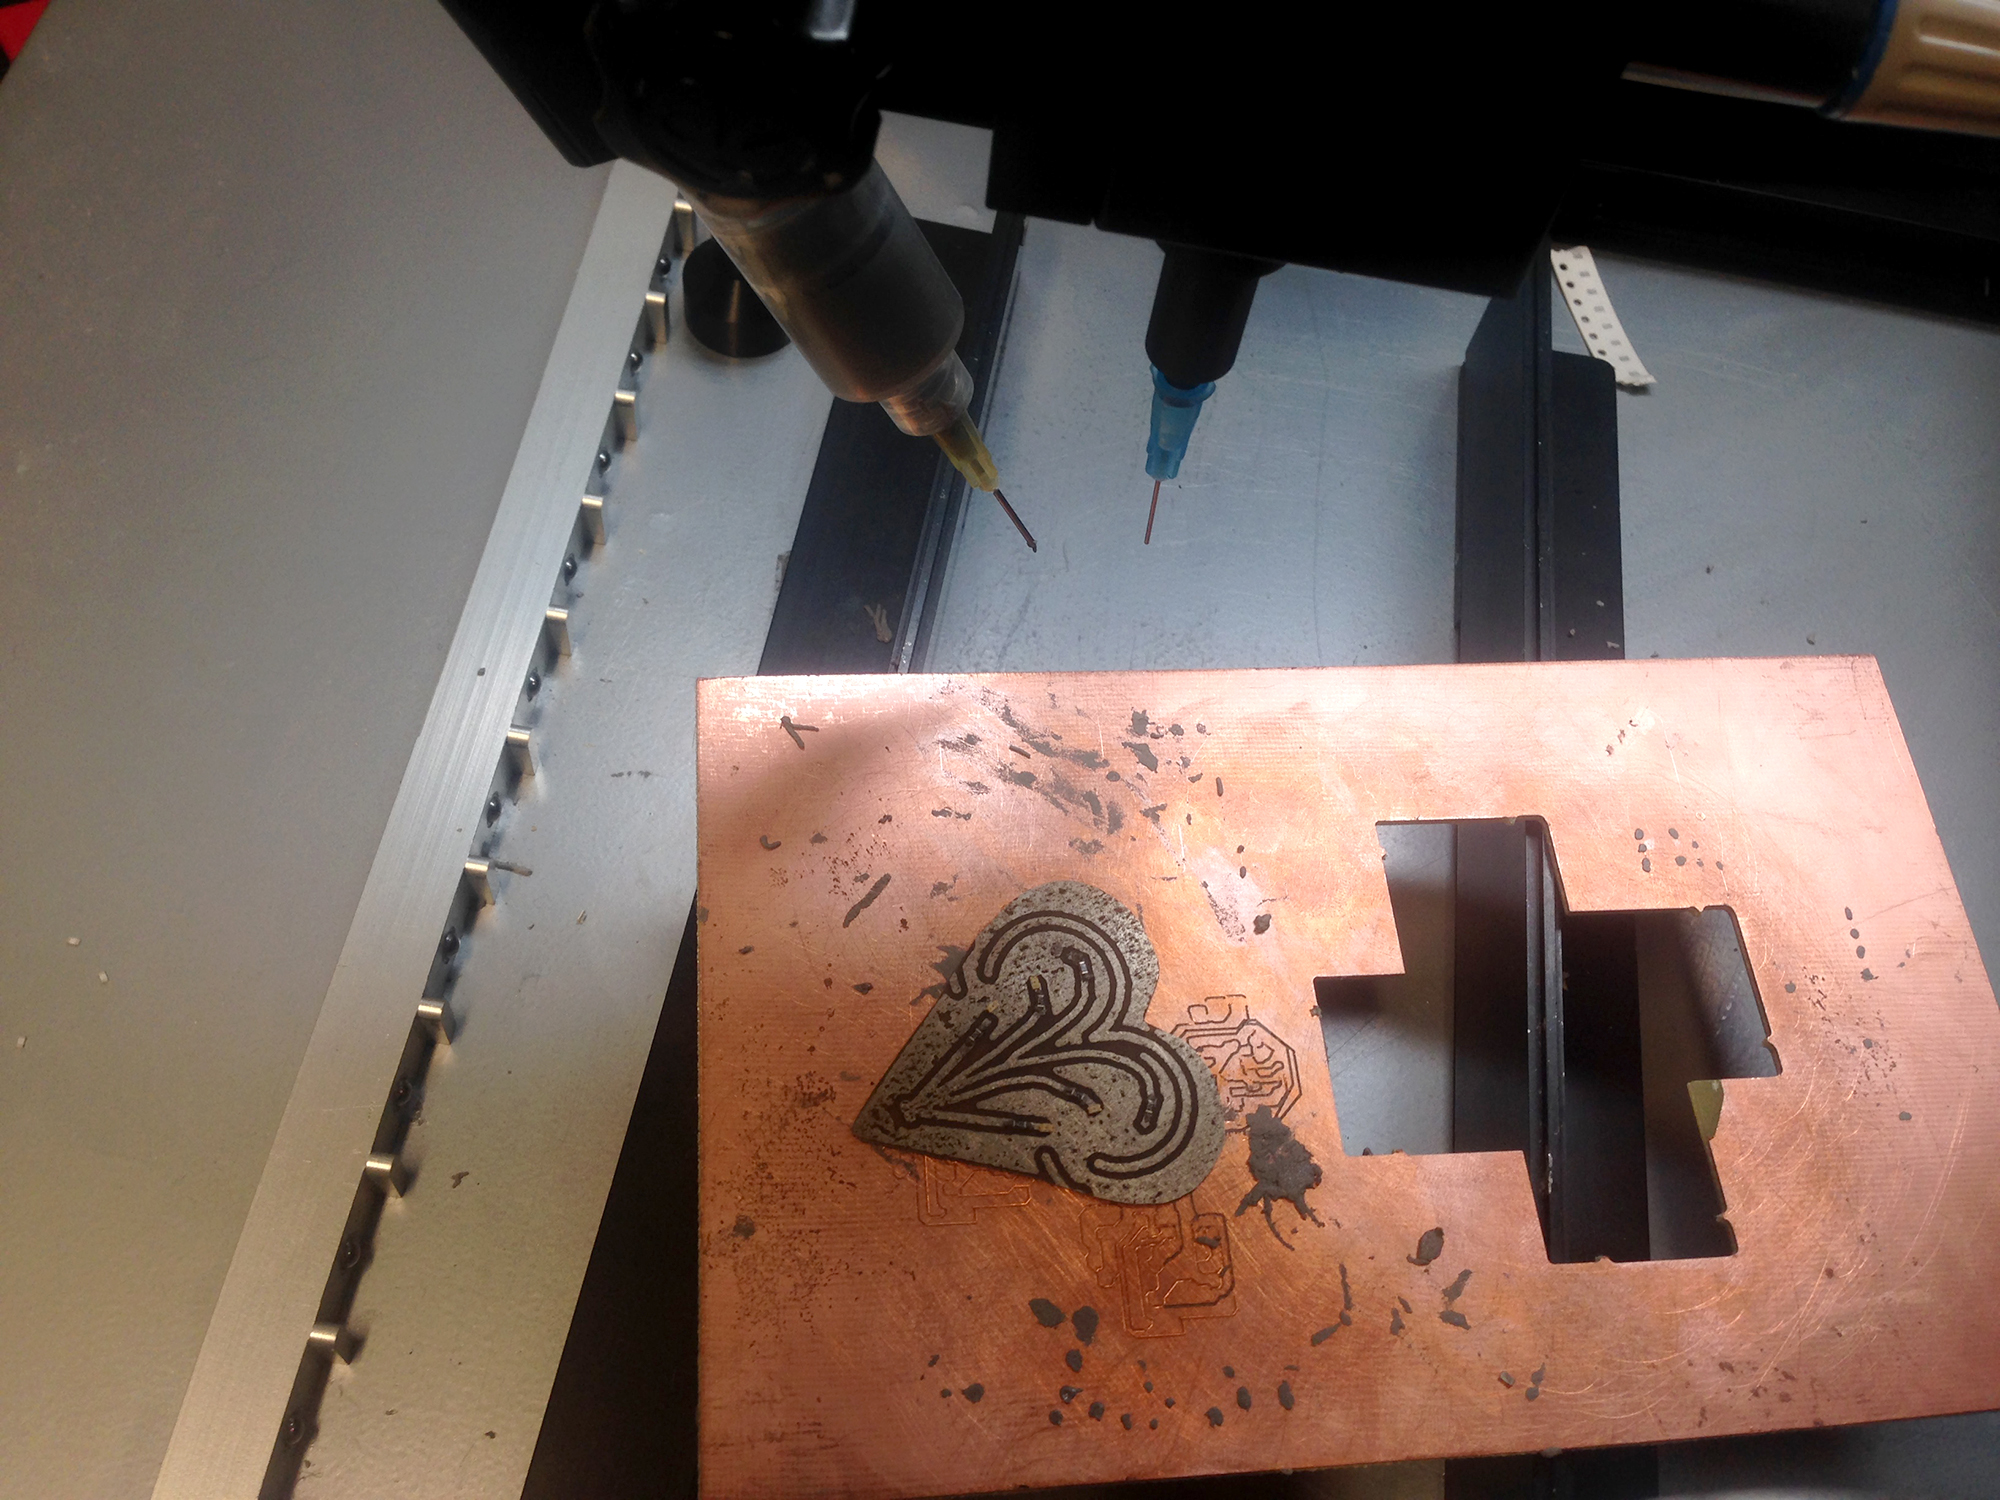
New design based on the same schematic.
Since I was re-etching the board, I decided to try a new design. I used the same schematic as last time, but shaped like <3, just to make something fun.

Transferring onto copper.


Using acid this time.

After tinting the copper. Almost there!
Surface mounting the LEDs and resistors.

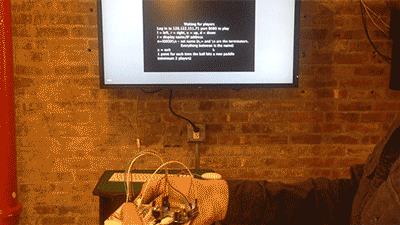
Done! Time to test. Moment of truth.
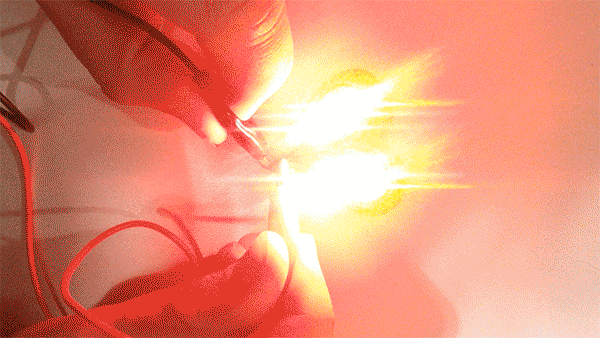
YES! It’s alive!